How to Set Up a Linkr Membership Tier
Setting up tiered pricing can help you meet the demand of different subscribers and earn more on Linkr. The following content will show you how to set up the membership tier on Linkr:
1. Log in to your Linkr account.
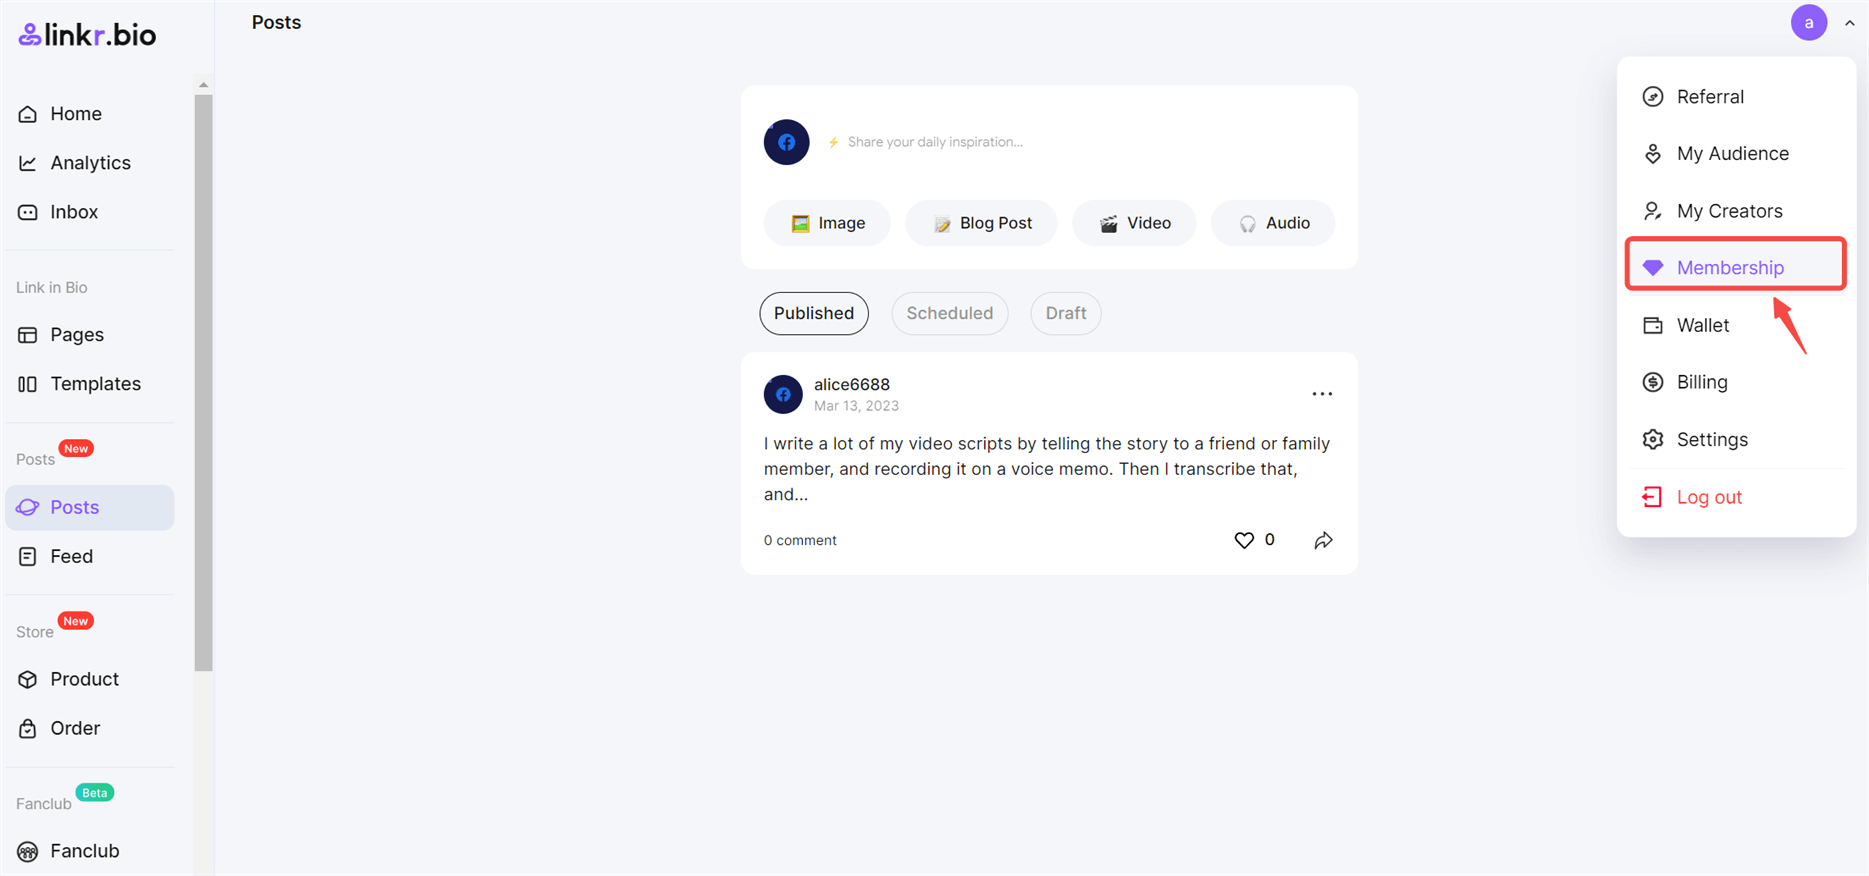
2. Click on your account name in the top right corner of the screen to go to “Membership”.
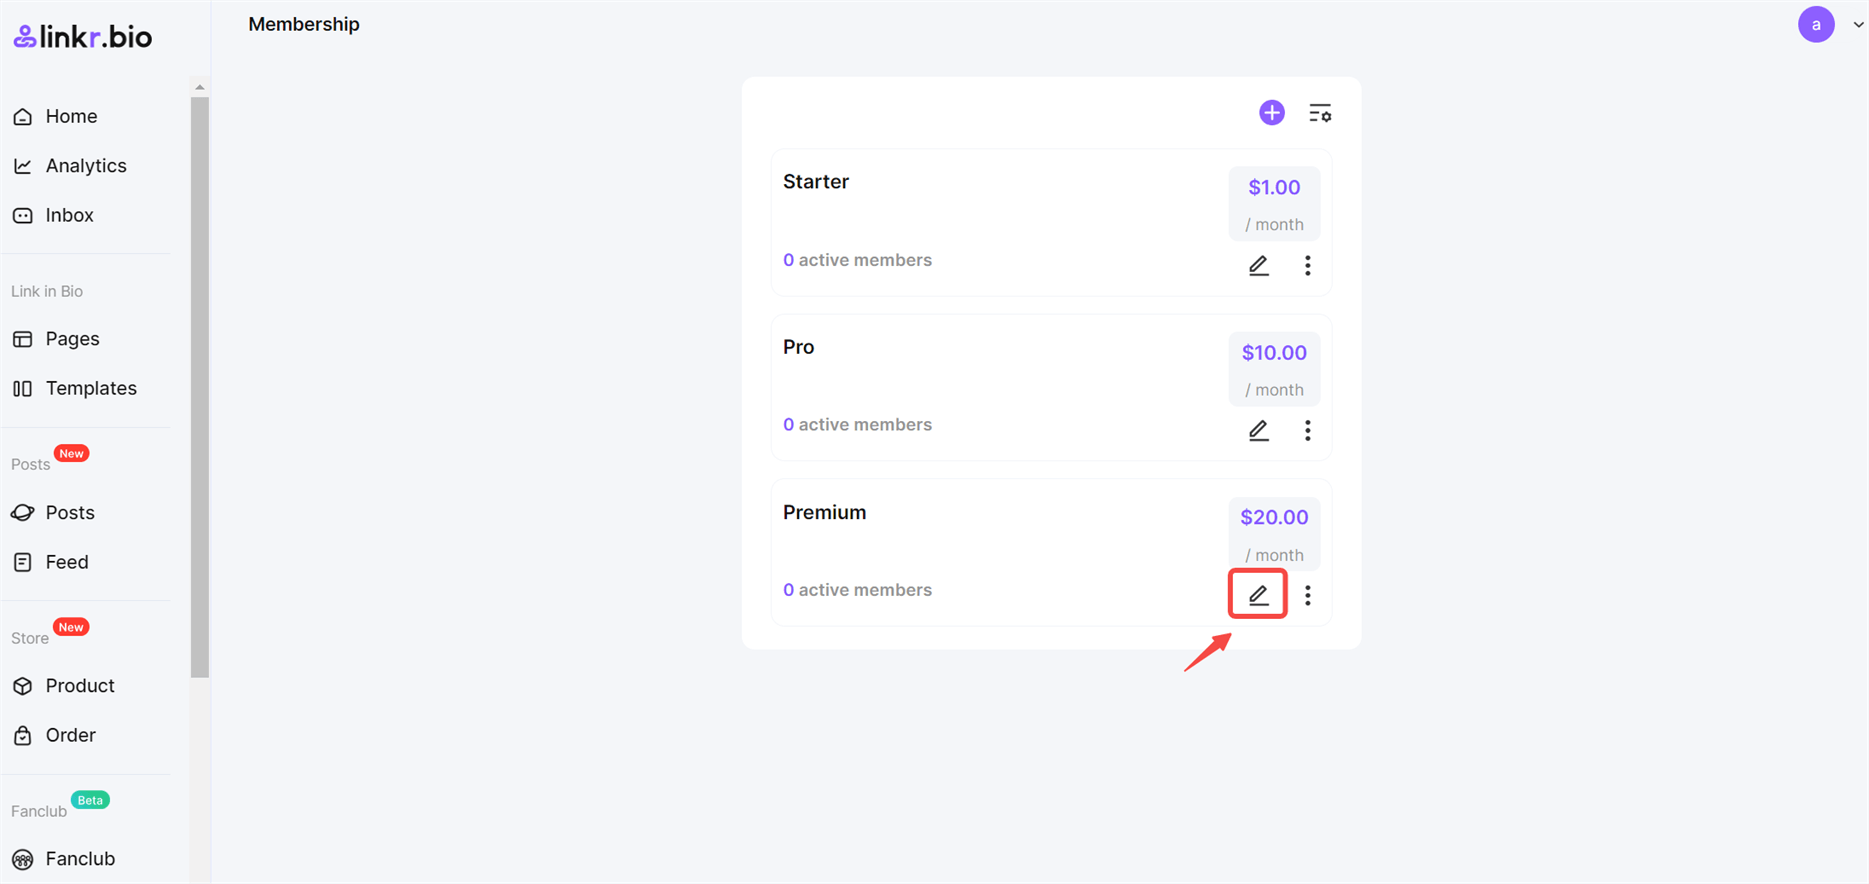
3. Click the Edit button that shapes like a pencil to start.
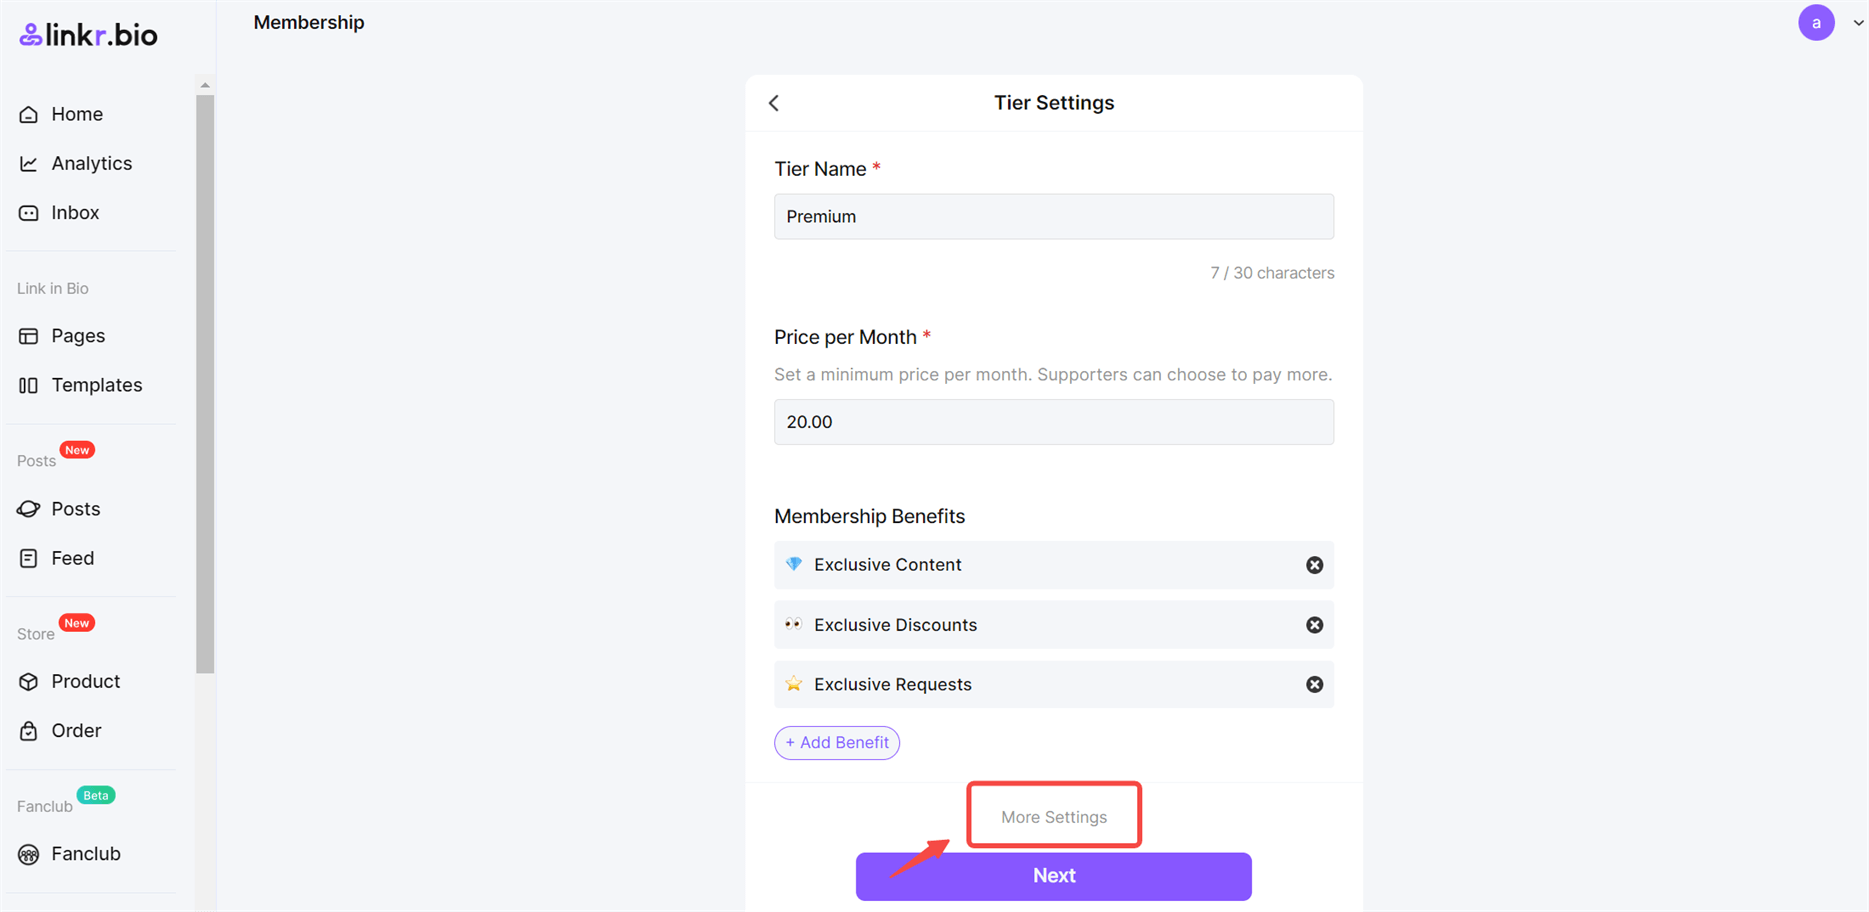
4. Enter a “Tier Name”.
5. Set the “Price per Month”. The price you set is the minimum price, and members can choose to pay more if they want to.
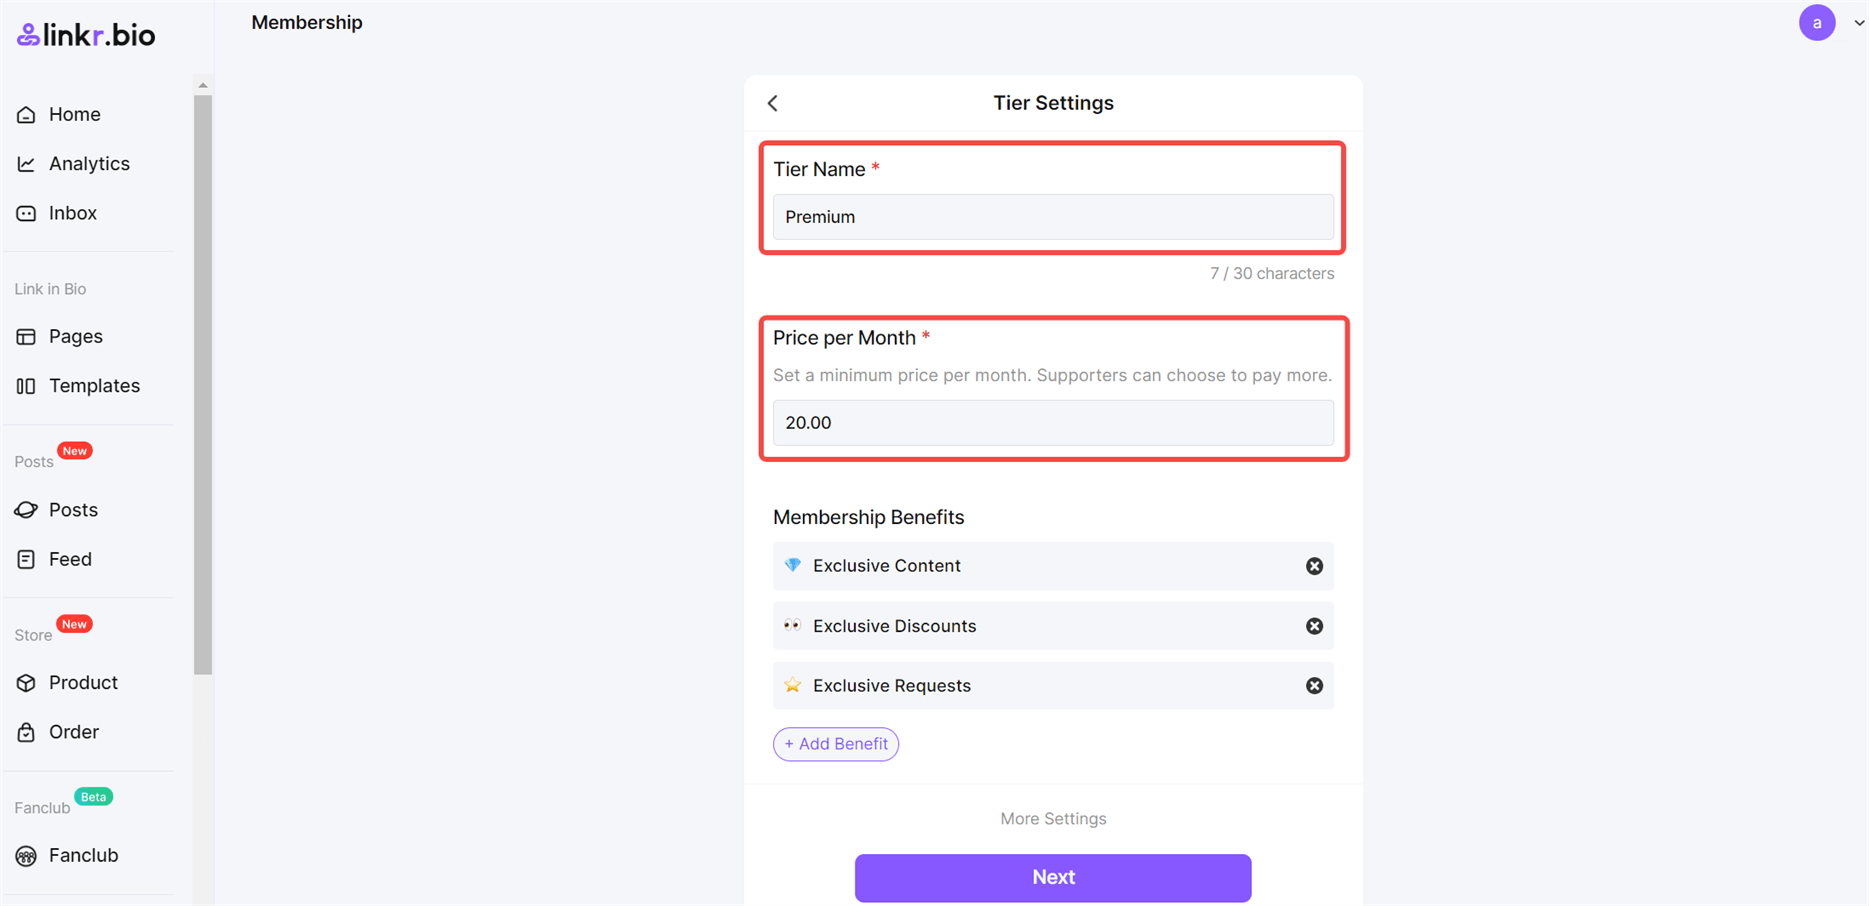
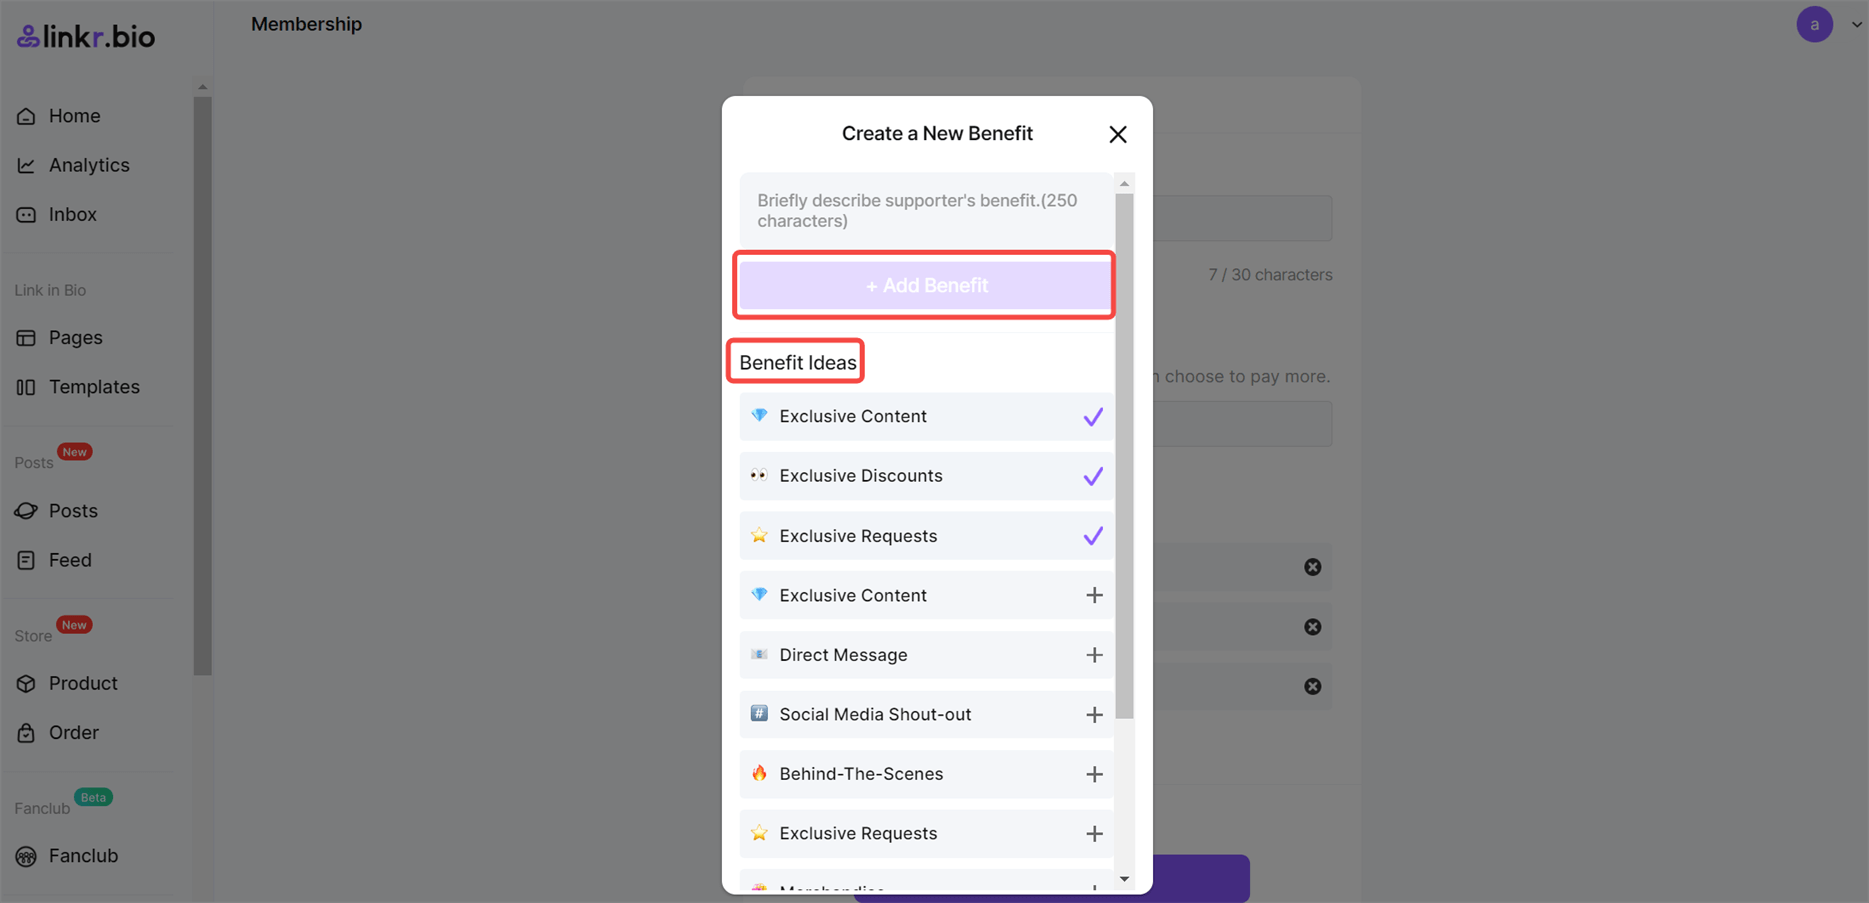
6. Add the “Membership Benefits”. You can choose from the “Benefit Ideas” we offer or create new benefits based on the expectations of your target members. Please limit to 250 characters or less.
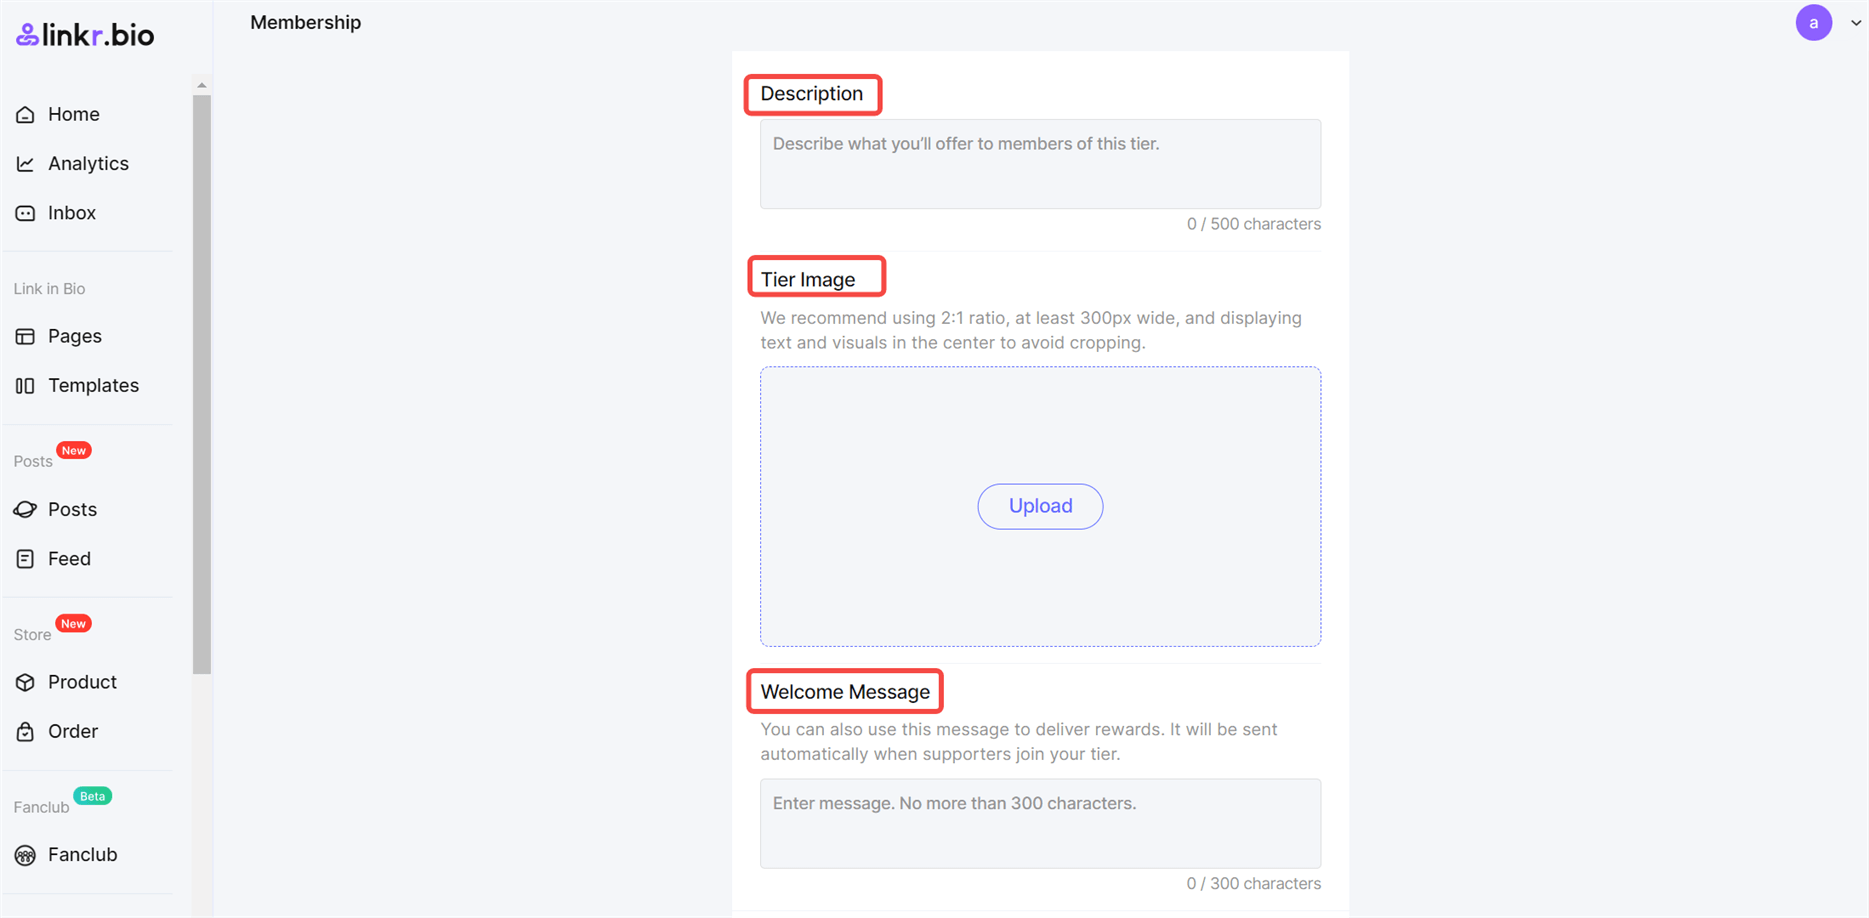
7. Uncover the “More Settings” option, you can first add a “Description”. Here you should introduce your tier with more details and mention anything you want members to know about the benefits.
8. Set a “Tier Image” if you want (optional).
9. Set the “Welcome Message”. You can also use this message to deliver rewards. It will be sent automatically when supporters join your tier.
10. Tick “Request Supporter’s Address” if you plan on offering physical rewards.
11. Tick “Enable Tier” to allow it to show on your first Linkr Page.
12. Once all settings are completed, hit the “Next” button.

📌 Note:
● After setting up your tier, you can preview or share your membership tier on social media so that your audience can get it.
● You can modify the tier’s name, price, and other parameters whenever you want. Changing the price of a tier won’t change the amount existing members are paying, but will affect the amount paid by new members.
● Deleting tiers will lead to the cancellation of active membership subscriptions. You’d better tell your members before deleting.
